Map the dirt before opening the paint
Plan weathering as a response to use and environment. A condition map with protected and exposed surfaces.
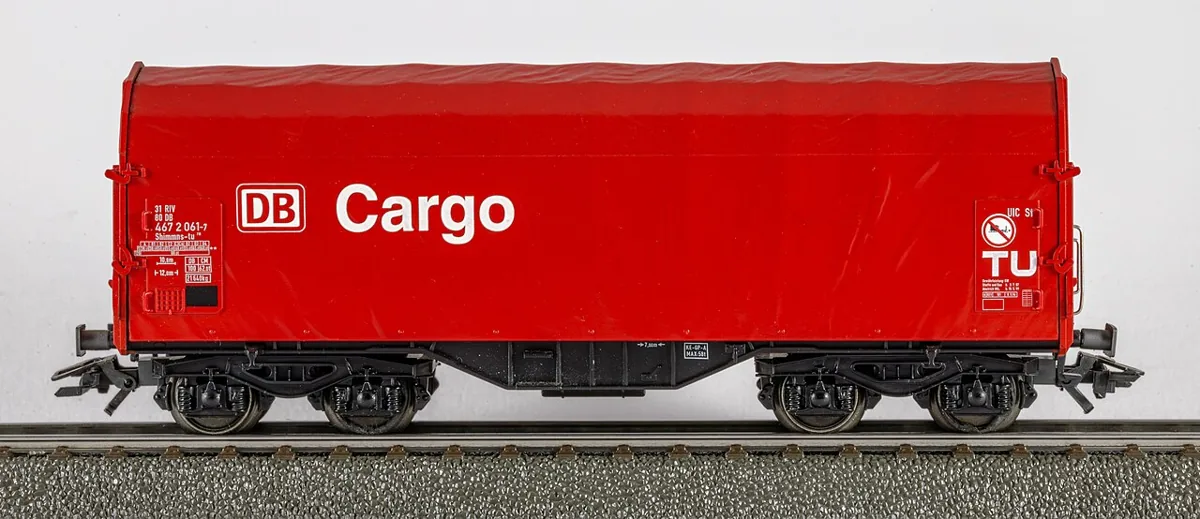
Weathering often starts with a colour: a rust tone, a dark wash or a favourite powder. A more useful starting point is a map. Which surfaces are exposed, which are protected, and what use does the model suggest? Answering those questions first can produce a coherent finish without covering every panel with the same effect.
The NMRA weathering guide distinguishes a general impression of use from reproducing a particular photographed subject. Its rolling-stock and structures guides provide context for vehicle and building choices. The condition-map method below is a planning exercise. It does not report product tests or establish a universal recipe for paint, solvents or surface preparation.
Decide what kind of claim you are making
If the goal is to reproduce one documented object at a particular time, choose references that show the relevant surfaces and preserve their dates and source information. A general image of a similar object may not support the exact pattern you want to depict.
If the goal is a plausible fictional finish, state that instead. You can still use observation carefully without claiming a reconstruction. The distinction affects how confidently you describe individual marks. “Inspired by exposed surfaces in these references” is different from “this vehicle looked exactly like this,” and the finished model should not imply stronger evidence than the research provides.
Draw the surfaces separately
Make simple outlines of the model's sides, ends and upper surfaces. Label each with the visible material or finish where known. Add protected areas, edges, openings and places where people or equipment may make contact. Keep the diagrams factual before adding effects.
For a building, examine the relationship between roof, walls, openings and ground. For a vehicle, look at body panels and running gear separately. Do not assume every dark mark has the same cause. The map should help you ask what evidence supports a pattern, rather than provide an excuse to invent a detailed physical history for an uncertain stain.
Separate observation from explanation
Use one column for what is visible in the reference and another for a proposed interpretation. A pale panel, vertical streak or dark deposit is an observation. Its cause may need additional evidence. If the cause is uncertain, reproduce the visible relationship cautiously or leave it unresolved.
Compare more than one view where possible. One photograph can exaggerate contrast or hide a protected surface in shadow. Keep source limitations beside the plan. Do not copy the same mark onto both sides merely because only one side was photographed; decide whether the unrecorded side will remain a general interpretation or needs further research.
Design contrast at the viewing distance
Place the model or a suitable mock-up in its intended scene and consider the normal view. A strong finish on the workbench may dominate a small layout. A subtle change may disappear once the object sits among other textures. These are visual judgements, not evidence that one product performs better than another.
Choose the few surface relationships that communicate the intended condition. Reserve clean or less affected areas where the reference supports them. Uniform treatment can erase those distinctions. A condition map makes restraint an explicit decision: the untreated space has a role in explaining exposure and use, rather than representing work you forgot to do.
Try the materials away from the model
The NMRA guide notes that porous and non-porous surfaces respond differently to weathering materials. Treat the actual substrate and existing finish as part of the question. Consult current instructions for all products, including compatibility, handling and curing requirements.
Prepare a representative test sample if appropriate, and record the sequence and results. Do not assume a method described for one surface can be transferred to another without investigation. This article intentionally provides no solvent mix or universal sealing recommendation. The condition plan says what you want to communicate; the material trial determines whether a specific process can achieve it appropriately.
Record a stopping point
Before applying a finish, write what would count as enough: a visible difference between sheltered and exposed areas, a particular reference relationship or a coherent impression from the normal view. Inspect the work against that goal rather than continuing until every surface has received attention.
Photograph the model at useful stages and keep the condition map with the material notes. If the effect needs revision, the record shows what was intended and what was actually applied. A thoughtful weathered finish is not measured by how dirty the model becomes. It succeeds when its visible differences support the object, setting and evidence the modeller chose to represent.
If several vehicles belong to one scene, compare their proposed finishes together before treating each separately. They need not have identical condition, but the differences should make sense within the chosen interpretation. Keep an especially strong contrast when evidence or the scene's purpose supports it, rather than merely because a new material invites experimentation.
Take it to the workbench
A field sheet for this article. Use your browser’s print command or copy the headings into your project notebook. Keep facts, observations and open questions distinct.
| Specific reconstruction or interpretation | Your notes |
|---|---|
| Observed surface pattern | Your notes |
| Proposed explanation | Your notes |
| Substrate and trial reference | Your notes |
| Visual stopping point | Your notes |
A mark without a cause
Hypothetical worked example. A reference shows a pale vertical streak below an opening. The visible shape can guide a fictional finish, but its chemical cause remains unknown. Test the intended material sequence separately rather than labelling every streak as rust.
This is an editorial exercise, not a report of a physical test.
Sources & further reading
- National Model Railroad Association — Weathering
- National Model Railroad Association — Motive Power & Rolling Stock
- National Model Railroad Association — Structures
Sources support the factual background. Worksheets and hypothetical exercises are editorial proposals, not reports of tests performed by this publication. Consult the relevant current product documentation before applying product-specific advice.